How to create Featured Images… the Canva way
Even if you don’t use WordPress, you need to add featured images to all your articles and social media. And, by the end of this article, you will learn how to create featured images for your blog posts. If you haven’t felt the need yet, you will... soon. 😉
But, before delving into the importance of featured images, let’s find out what a featured image is. Moreover, you don’t need to be an expert graphics designer to make one.
What are Featured Images?
Featured images are those which show up in the preview when you share a link. Yep, you got it. It's the absence of a featured image, that makes your shared links look awkward. It shows a random picture from the page – an auto featured image. That’s the reason why featured image is important.
While WordPress gives you the option to add featured image to your blog post, there’s an easy way out to use featured images for any blog post you write. And it works even for website pages.
How to add Featured Image to your Blog?
A featured image is nothing but the first image that appears in your post. When you share that post’s link, the link preview doesn’t come up with a random picture but that image. And you can thus, change featured image easily. Just design and create featured images for the blog posts, guest posts, articles and put them at the top.
And here’s the step by step guide to create stunning featured images. After following the steps below, you will get the image, I used for this blog post.
Create Featured Images with Canva
You need an image first, to edit. Instead of exploring the copyrighted Google search images, download one from a website providing free stock photos. Pixabay, Freepik and Unsplash are some of the sites which have many free photos for commercial use.
To make the featured image for this blog post, I downloaded a picture from Pixabay. Download a size which is larger than 1200x630 pixels, because those are my featured image dimensions. I read somewhere that 1200x630 works well across multiple sites. You can, however, choose any size for featured images.
Now, you are ready to create featured images for your blog. Open www.canva.com, sign in there if you aren’t already, and click “Create a design”. Canva will present a list of templates from which you can pick one (Fig. 1).
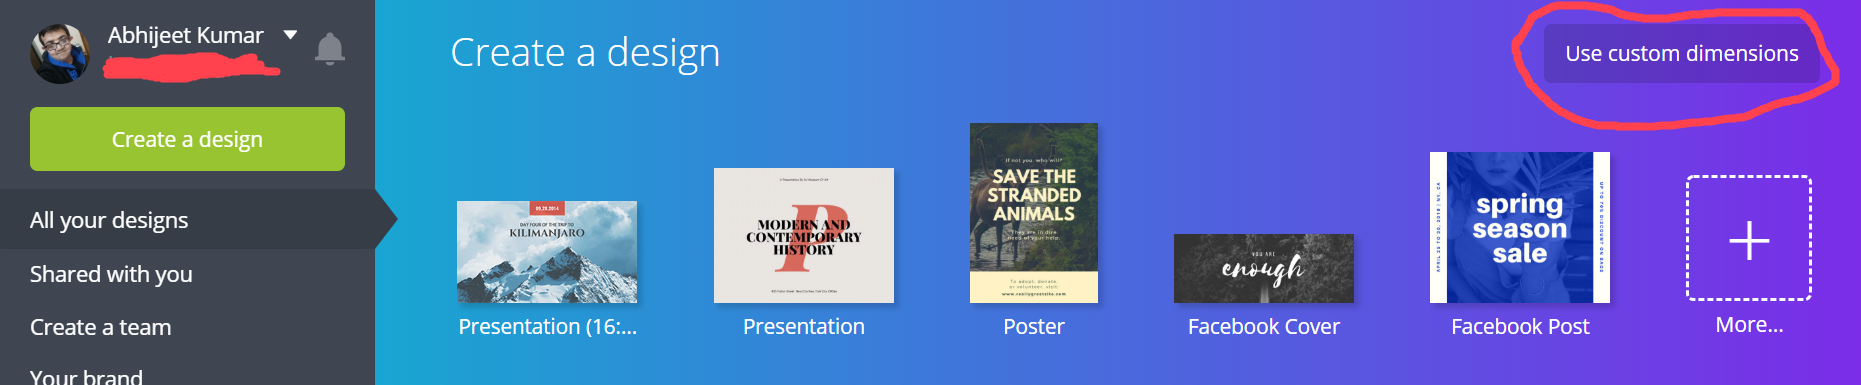
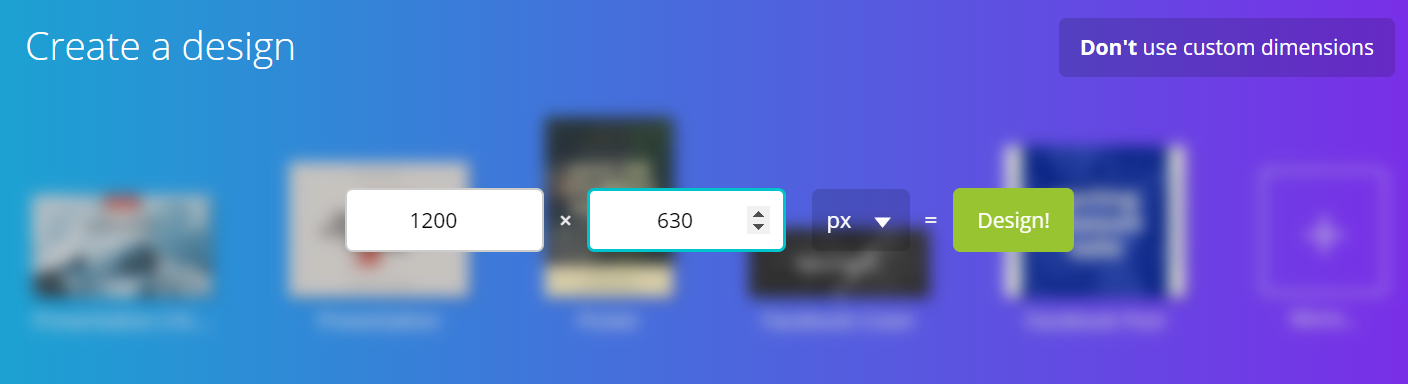
Instead of choosing a template, click “Use custom dimensions” and you will see something like what’s displayed in Fig. 2. Type in the featured image size you want. I will start with the 1200 x 630 px canvas size for my design.
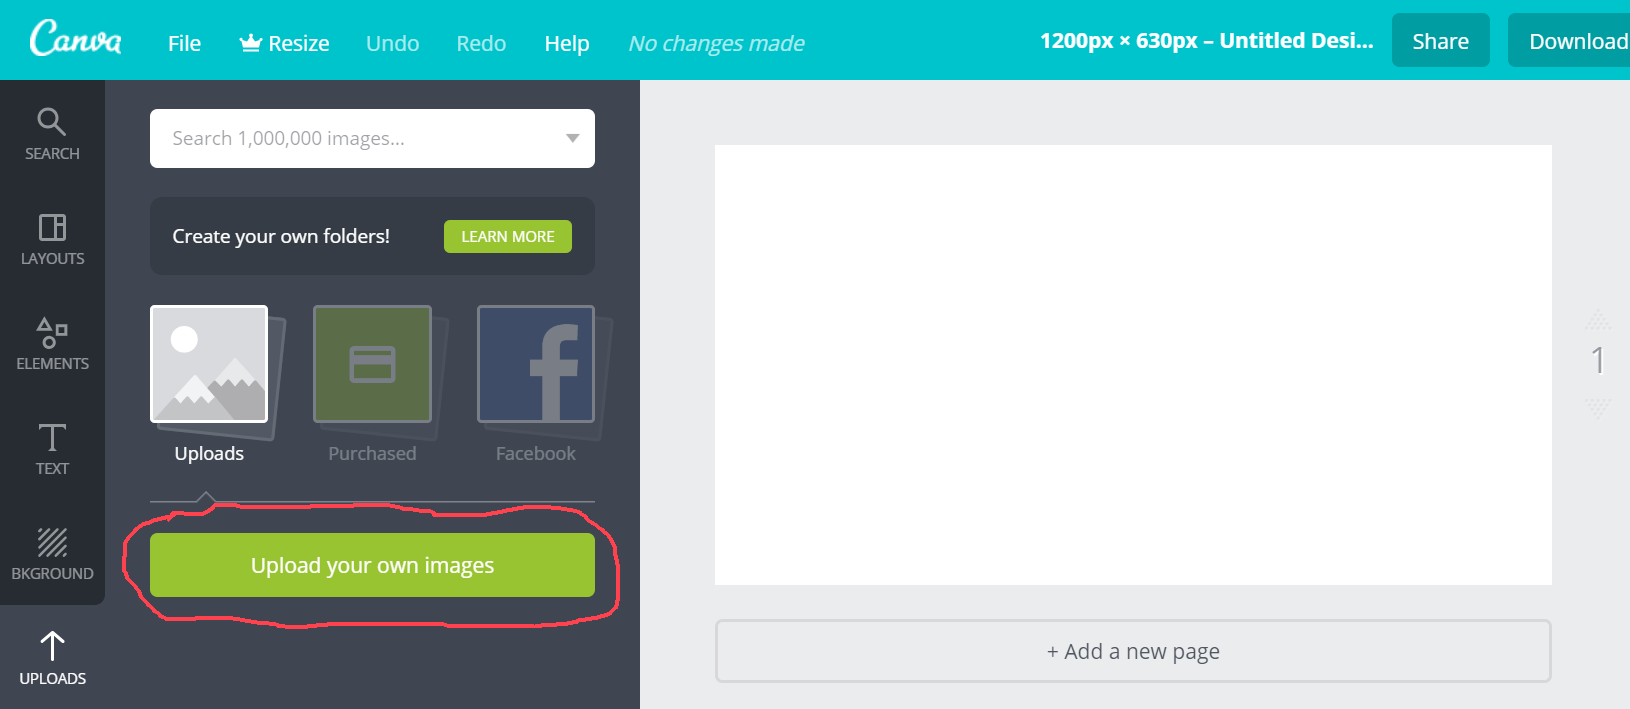
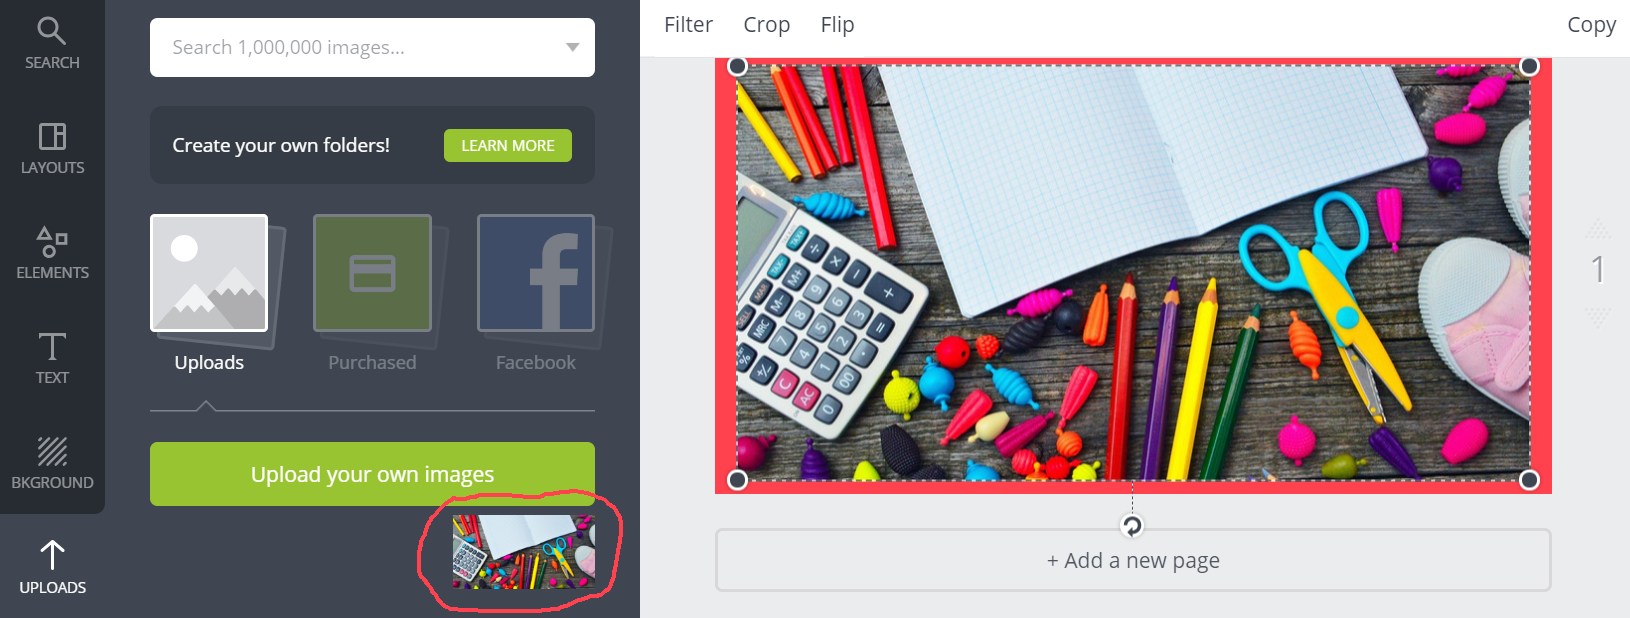
Next, you have to add the image (which you downloaded) to Canva’s library to edit it. Go to the “Uploads” option and click “Upload your own images” (Fig. 3).
Now, if you want to use the photo as it is, leave the background colour unchanged, i.e. White. If you want a darker image, change the background colour to Black. Leaving it White, by the way, will also give you an opportunity to make your picture white-ish. How? The answer is coming up soon.
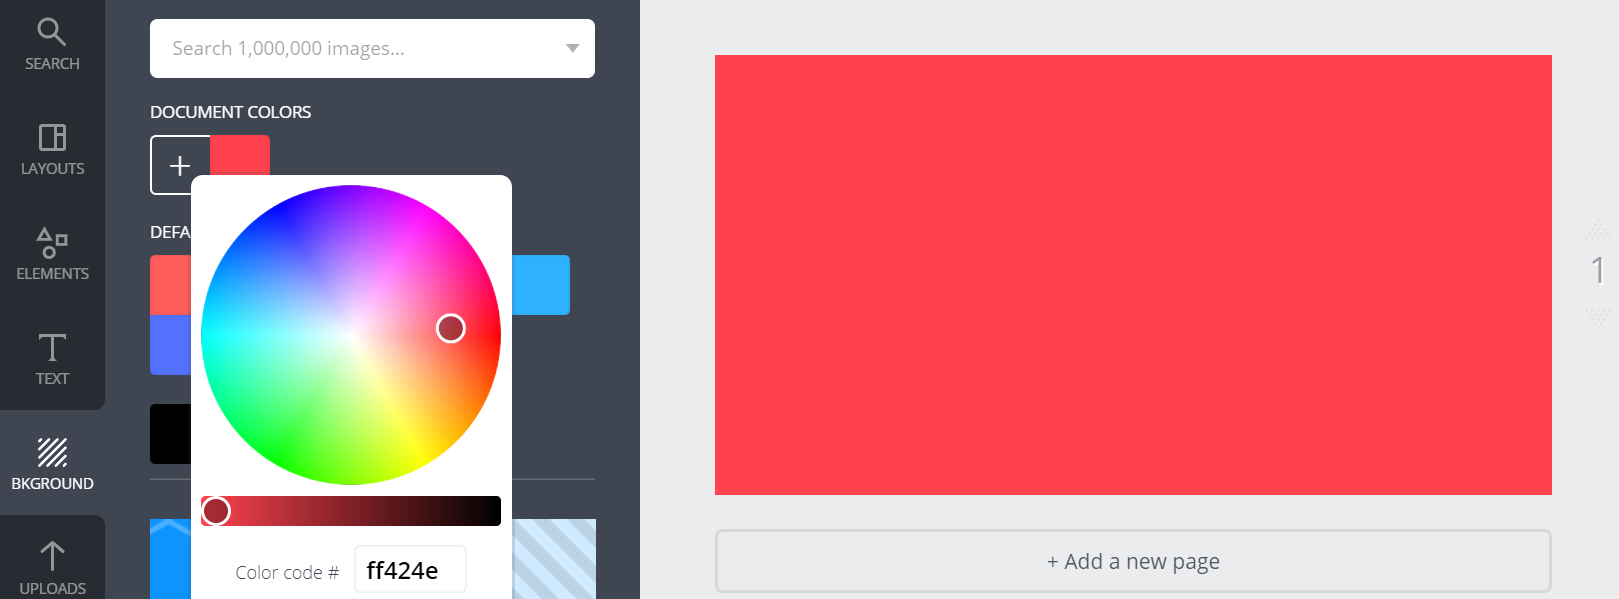
I wanted my featured image to match with my website’s theme, so gave it a reddish tint, just for fun. Did you notice the colour code #FF424E in Fig. 4? Well, that’s the hex code of my red colour. Use that code, and you will get the colour I am using.
Read - A brief guide to colour codes on the web.
Now, go to “Uploads” and click the picture to use it. The image then will come up in the working area (Fig. 5).
Stretch the image so that it fills the “red” board. But wait, extend only from one corner. Trying to stretch it from all corners, may replace the background colour and snap this picture as the background instead. So, what I do is, pull it from one corner, enlarge it enough, and use keyboard’s arrow keys to position the image. It takes a few trials to see what looks good. 😁
Do you see those dotted lines in Fig. 6? Yeah, I stretched the image beyond the canvas area to get the desired part for my featured image. Now, set the transparency as per your requirements. Here you set the tone for your image – whitish, blackish, bluish, reddish or whatever – depending on the background colour. Most of the times, I find a value between 60%-75% good, but this time, it’s 50%.

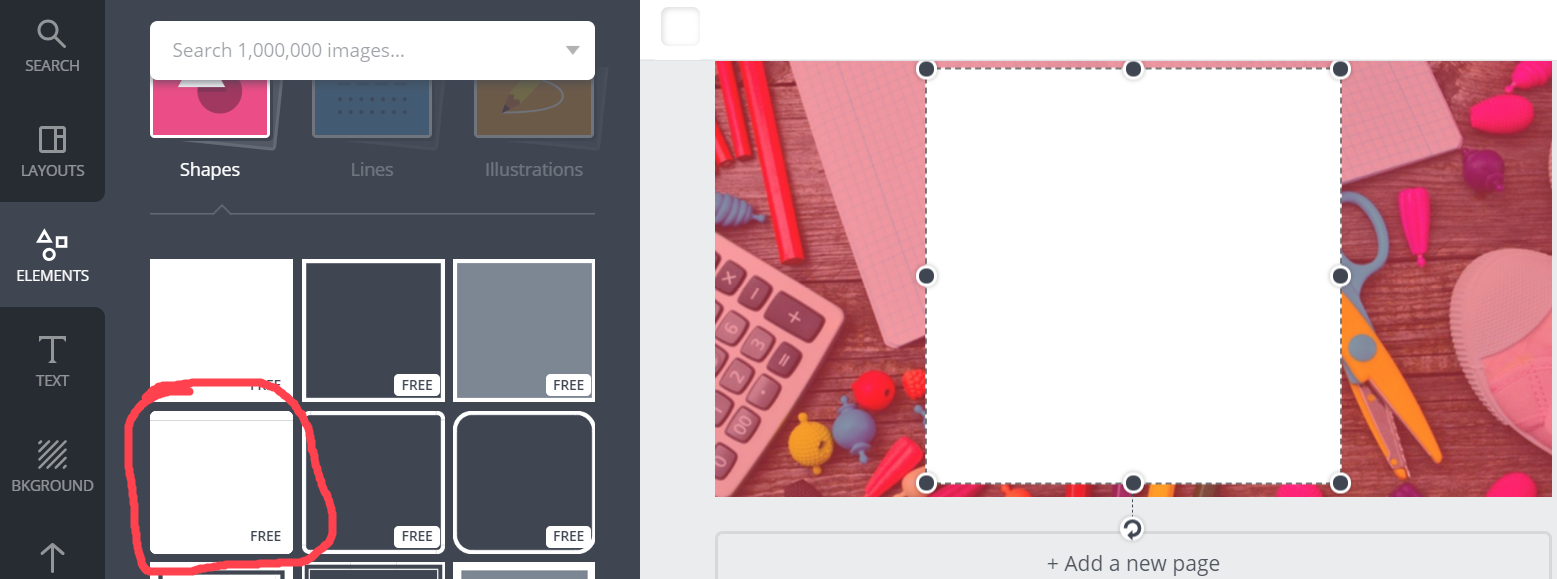
Now, for the shaded background for your text, pick one of the colour filled shapes. I chose the square with rounded corners for my design. (Fig. 7).
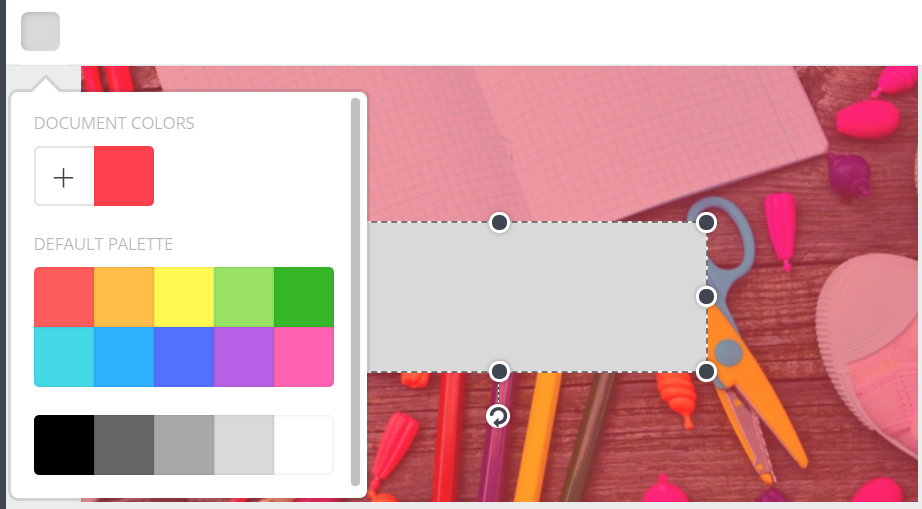
Resize it and align it to the centre using the mouse. You will see horizontal and vertical dotted lines when it is in the centre. The default colour is white which I changed to a light grey colour (Code #D9D9D9) (Fig. 8).
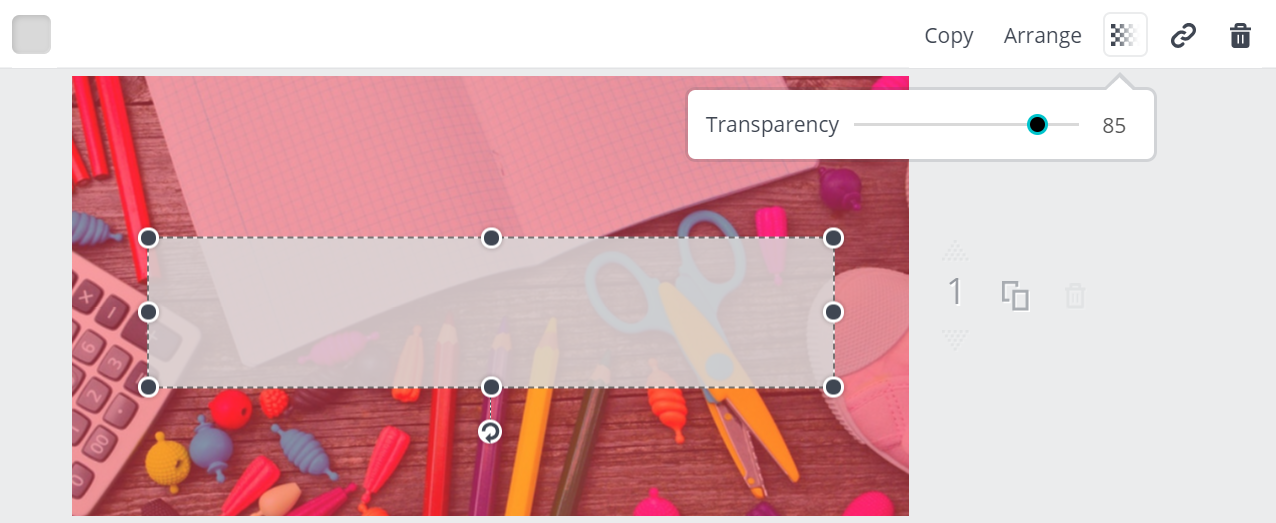
Now, it’s time to play with the transparency bar again. Make sure the shape is highlighted, and then see what value looks good. Since I make my background images a bit transparent (as in Fig. 6 above), I keep the slider somewhere around 70%-80%. It’s at 85% this time.
Next is the final step in the process to create featured images… adding text. 😁
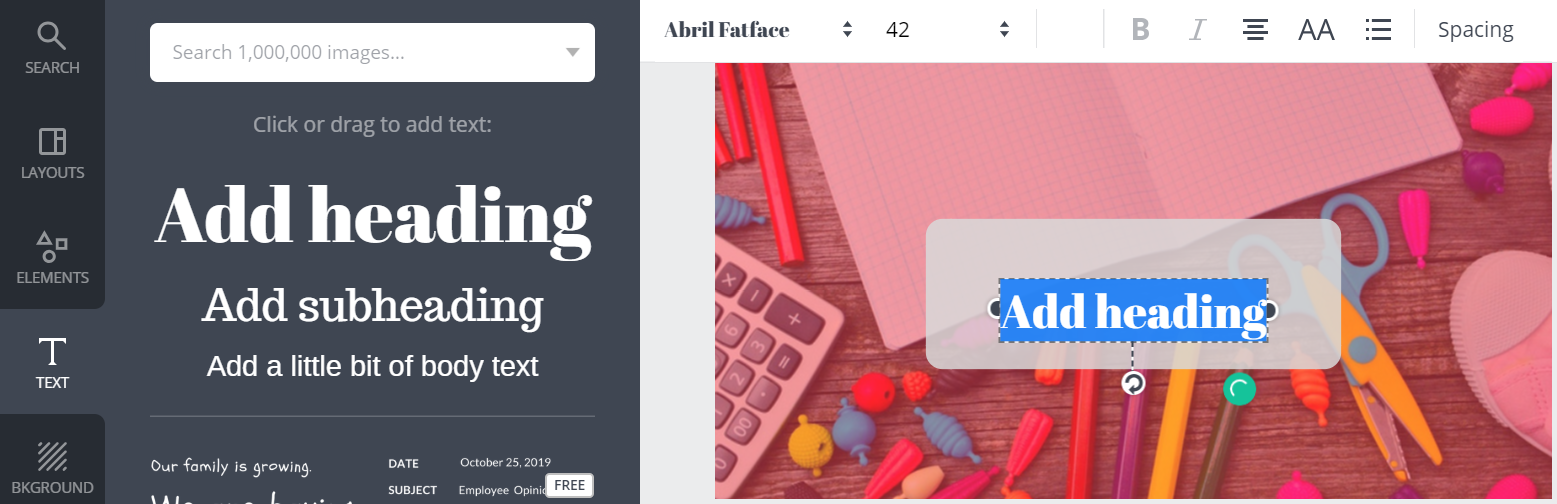
Check Fig. 10 below (Ignore the small size of the rectangle. I accidentally deleted it earlier). Click on “Add heading” to get a pre-formatted heading. Replace it with your text and your preferred style and then, make the alignments.
After that, click “Add subheading” if you have any (I do have one in this example). And do the same thing which you did with your heading. 😁
Following are the settings I applied –
i) The heading text “How to create Featured Images?”
- Font name – Amaranth
- Font style – Bold
- Font size – 42
- Font colour – #FF424E
ii) The sub-heading text “A quick Canva tutorial”
- Font name – Courgette
- Font size – 32
- Font colour – #FF424E
- Letter Spacing – 100
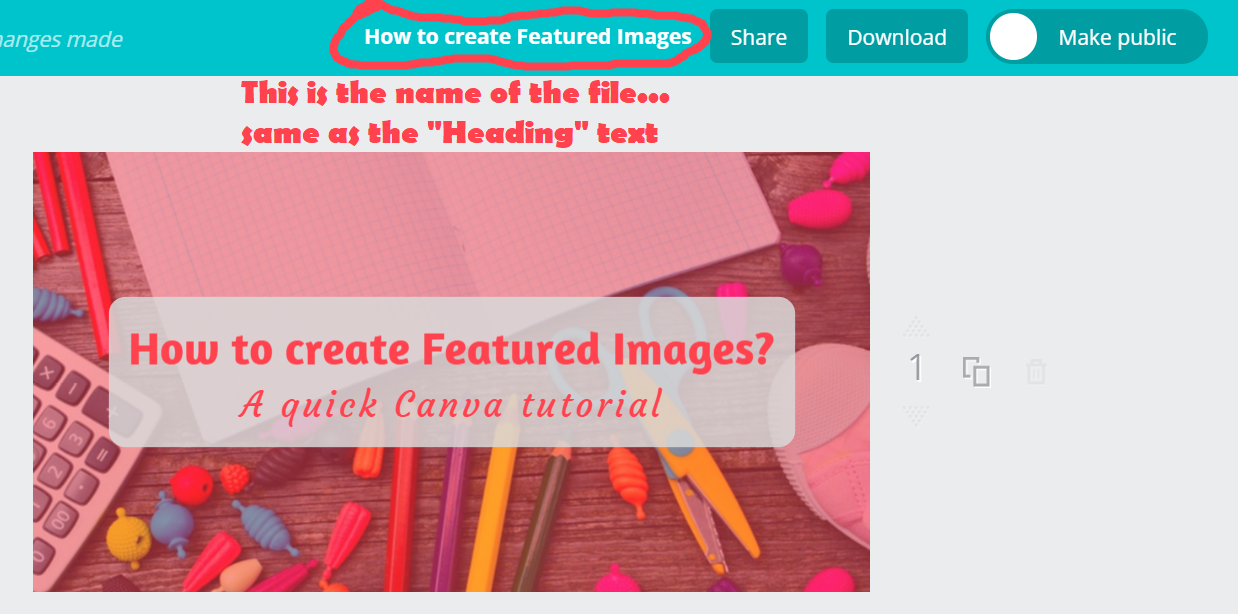
And when you’re done, Fig. 11 is what your final screen should look like. The name of this design is the text in the heading, just saying, in case you need to find it later among your designs. Now? Well, download.
Now, that you know how to create awesome featured images, why not take Canva for a drive. Let your creativity out and share what art marvels you made with Canva, I hope the steps were easy. If you have any difficulty understanding, contact the Lazy Writer through one of your preferred social media sites. 😊
Oh, yes! With Canva, you can also make stunning Facebook cover photos, LinkedIn background photos and Twitter header images among others. There are templates, so you don’t need to worry about the dimensions. Explore!
P. S. There also is another blog post I wrote about Canva earlier, a brief one. If you want to, check the Power of Canva.